Activity: Create your own painting using the Pointillism technique.
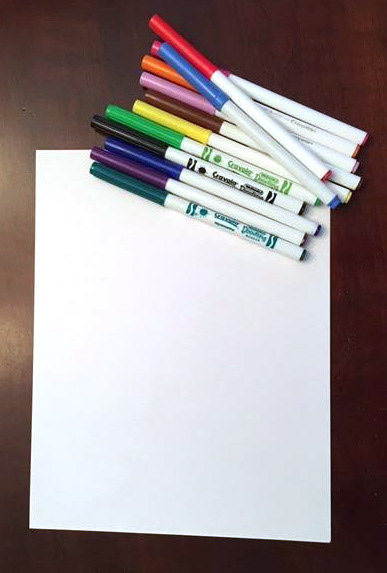
Materials:
● Thick paper (preferably cardstock )
● Watercolor, acrylic paints, markers, ink, colored pencils, or crayons
● To create your dots you can use Q tips or the end of a paintbrush.Anything that would create the size of dot you want.

Directions:
● Research Pointillism and famous pointillism artists. Learn about their techniques and how they used color to create highlights and lowlights. Also, notice the placement of the dots and how they are spaced. The idea of this step is to get inspired and see professional examples of what you’re going to be creating.
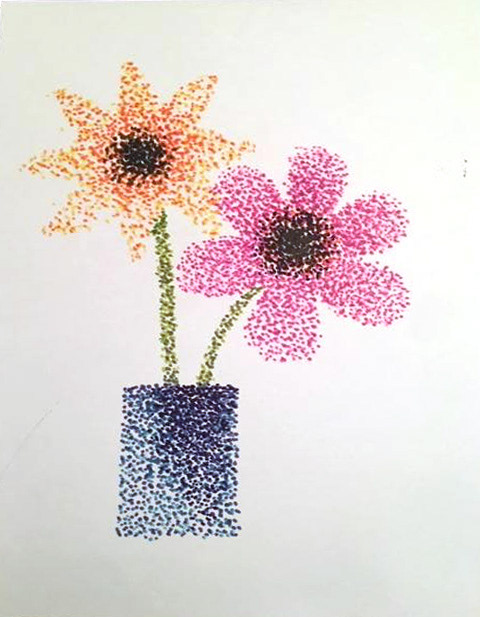
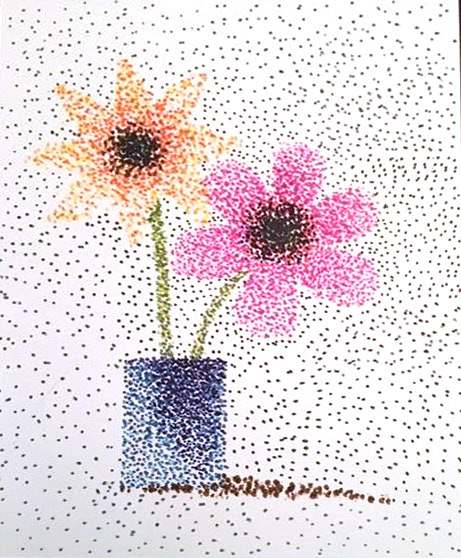
● Sketch what you want to paint. Is it a landscape? A pet? A flower?
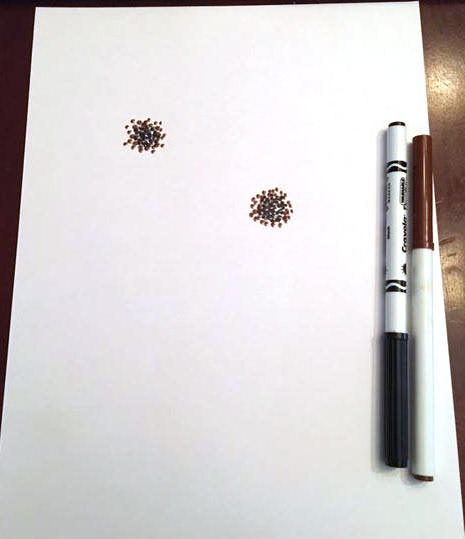
● Make sure whatever medium you use (crayons, markers, colored pencils etc.) that they are sharpened or have the right point you want for your dots..
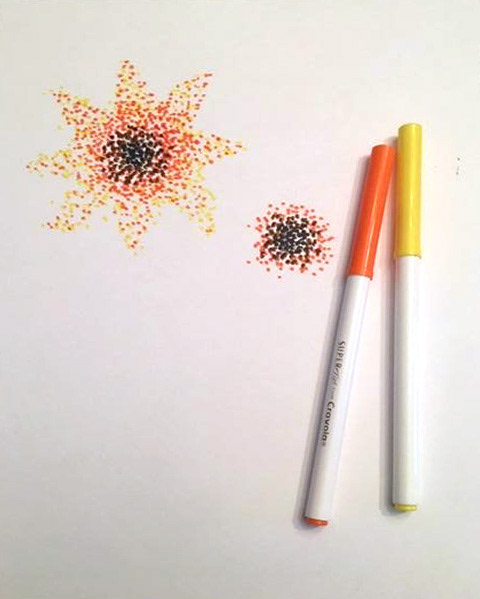
● On a separate piece of paper, practice with different mediums and tips to get the exact dot you want before you move back to your actual piece.
● Once you find the size and medium you want to use, create dots to cover your drawing. Remember, how you place your dots will create texture and clarity.
● If you are working on an object like our flower pot example, make sure you cover the negative space around the pot as well.
● Think about what happens when you put dots close together or further apart? Did your painting turn out the way you wanted? Did you create a clear pattern with your dots? What could you do differently?● Try this as many times as you like and don’t be afraid to experiment!
Remember, you’re the artist here. Get inspired, be creative, and, most importantly, have fun! Share your project with us by using the hashtag #wamcreateclub