Our map art project is inspired by UVU art student, Brittanna Roberts (see image below). There are so many ways to use maps to create art and we will be exploring them in this week's piece. Our project uses layered shapes and a map of your choice to make a unique collage. Take a look at Brittanna’s work and the work of our other talented artists in the virtual gallery of our Student Art Show for inspiration.
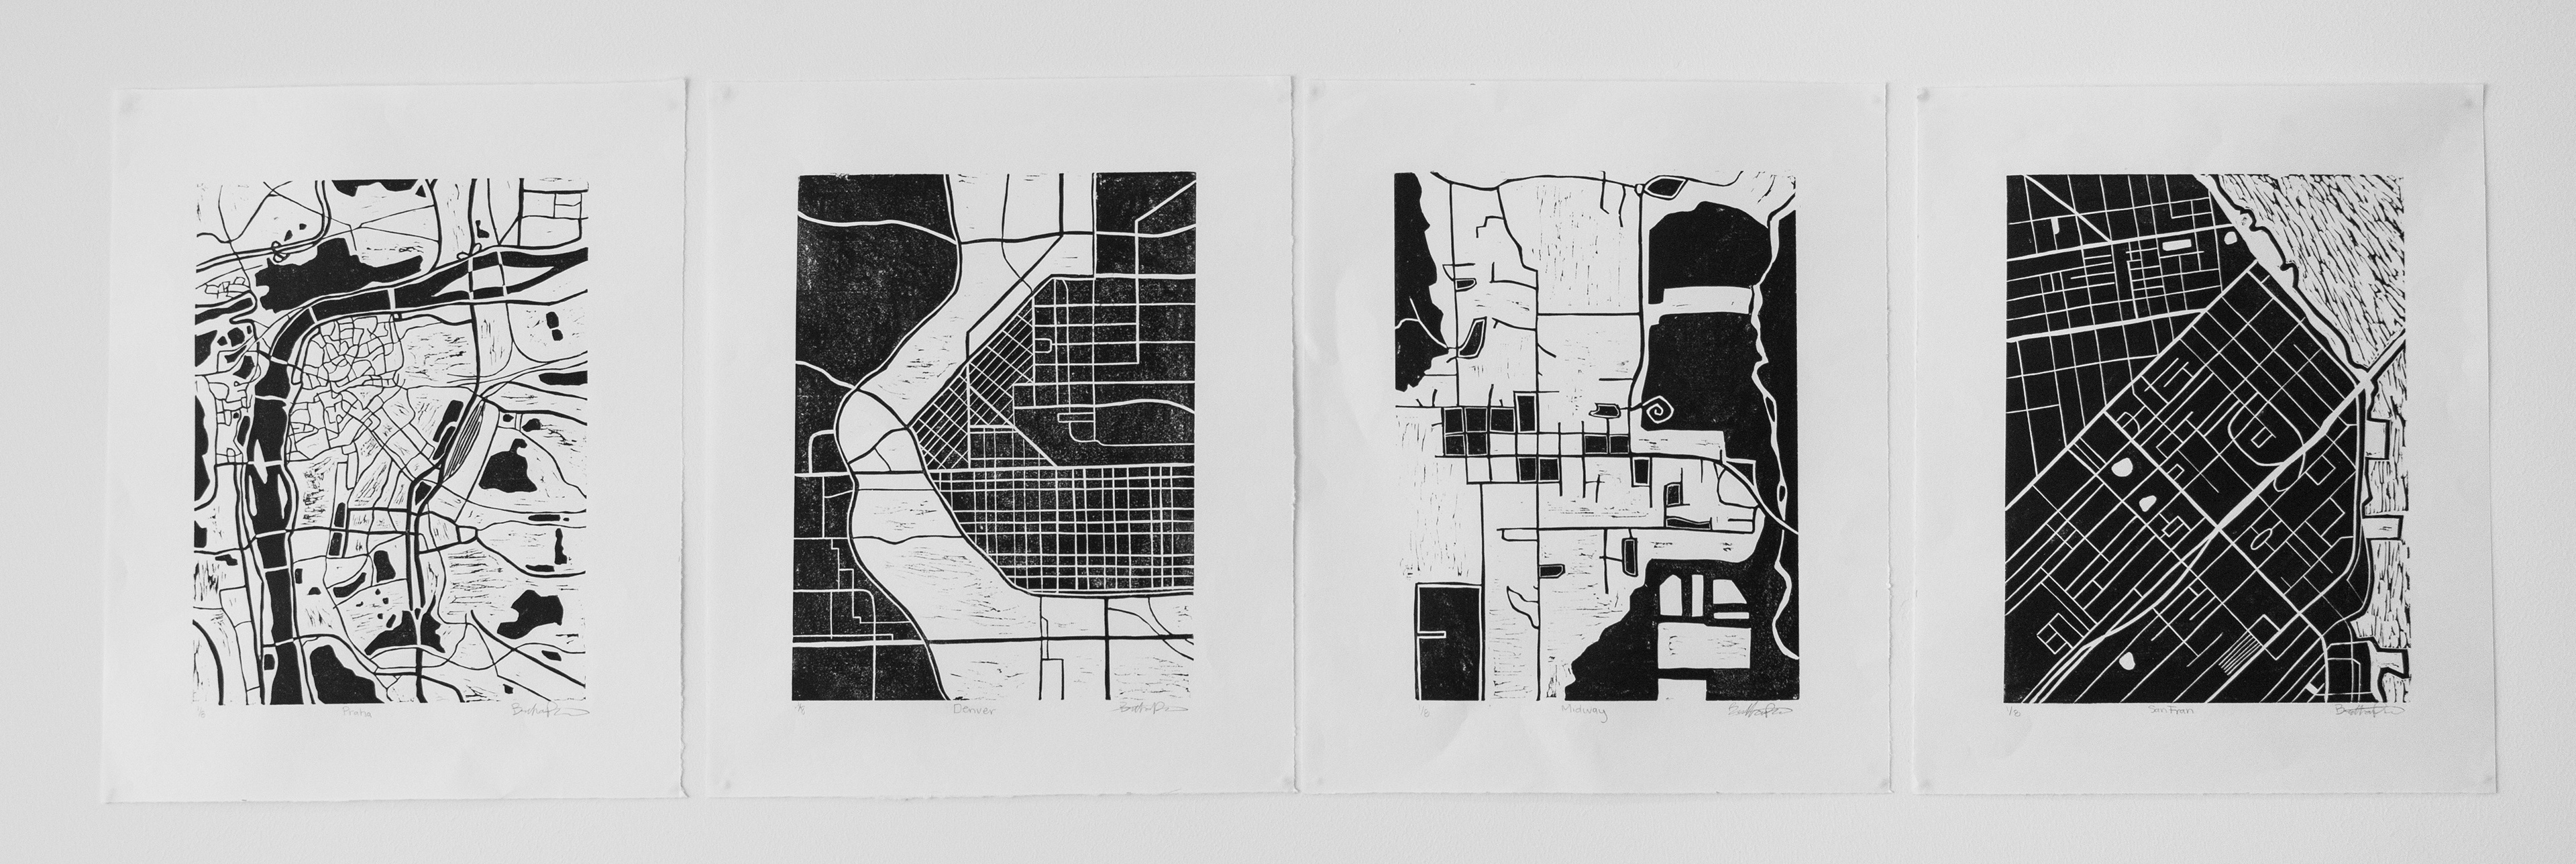
The Map of My Art, Brittanna Roberts, relief print
Materials We Used:
● Tissue paper- yellow, blue, orange, black
● Art journal or white paper
● White paint
● Paint brush
● Scissors
● Fine point black pen
● Red marker
(The above materials and the directions below recreate our example, but you can use whatever materials you like to make your piece unique)!
● Tissue paper- yellow, blue, orange, black
● Art journal or white paper
● White paint
● Paint brush
● Scissors
● Fine point black pen
● Red marker
(The above materials and the directions below recreate our example, but you can use whatever materials you like to make your piece unique)!
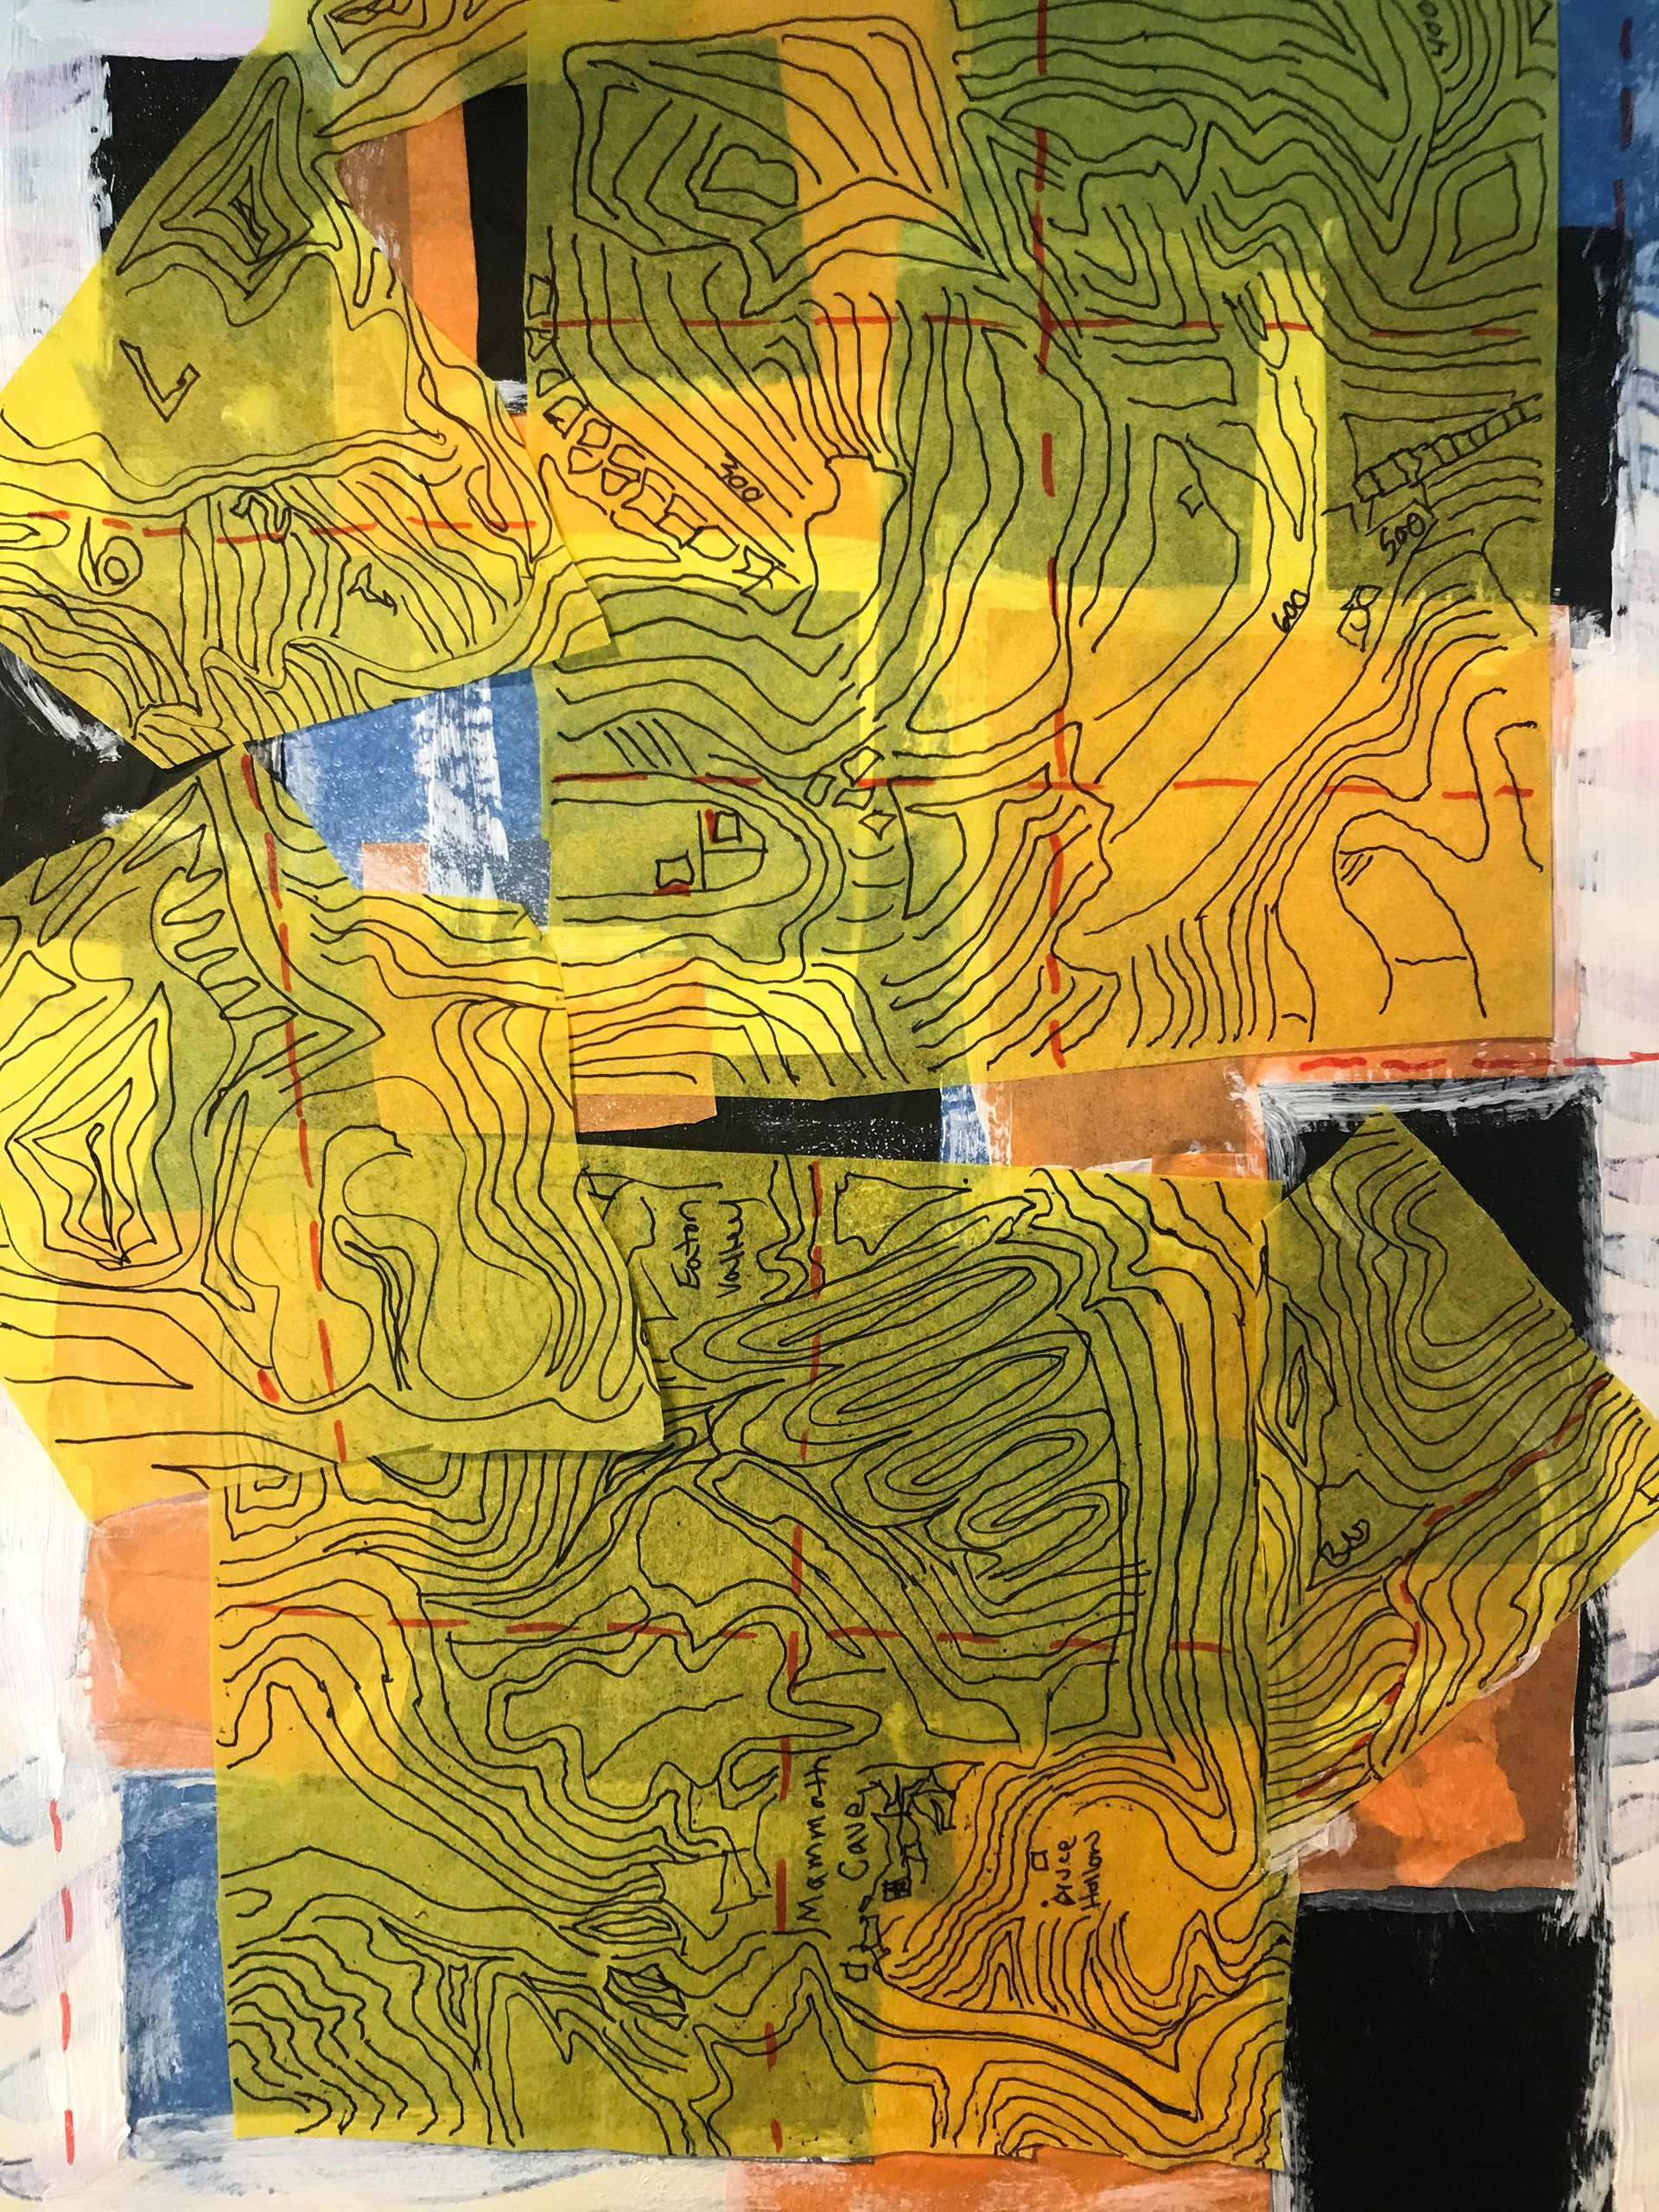
Directions (to create our example):
1 - Decide what kind of map you want to use in this piece. We chose a topographic map.
2 - Take the yellow tissue paper and, with the fine point black pen, draw the map you chose for this piece.
3 - Use the red marker to draw grid marks on your maps.
4 - Take the scissors and cut your drawn map into 6 different shapes.
5 - Take the blue, orange, and black tissue paper. Cut the paper into different shapes.
6 - Use the white paint to stick the shapes you just cut to your art journal or white paper. Note: make sure to layer.
7 - On the different shapes, take the paintbrush and white paint to make framing marks around the shape.
8 - When that is dry, take the paint brush and white paint to layer the yellow map pieces you cut out earlier over the shapes you just layered.
9 - Place the shapes however you want on the paper.
Remember, be creative, get inspired, and have fun!